
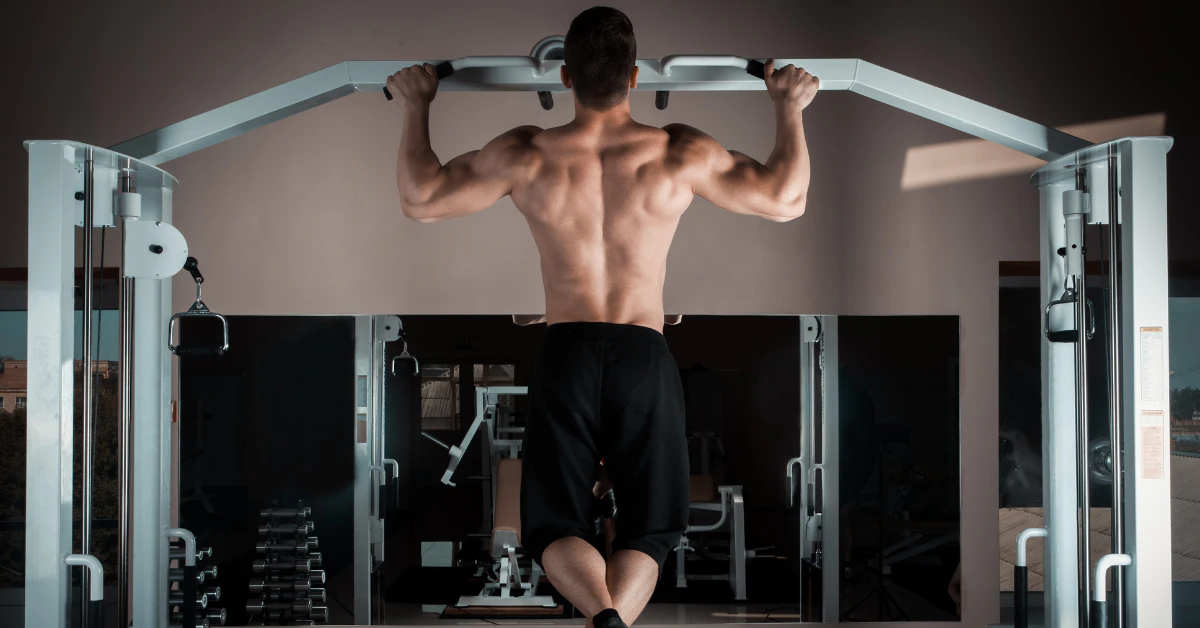
Start in a dead hang with your arms fully straight. Pull your shoulder blades down and back before you bend your elbows. Drive your elbows down and back to pull your chin over the bar. Pause for a second at the top. Lower yourself back down slowly and with control. Repeat.
There’s no shortcut that makes a pull-up truly easy overnight. Your body still has to lift its full weight against gravity. But there is good news. Learning how to do a pull up easily often comes down to fixing your technique, not just getting stronger. Small changes, like engaging your shoulder blades first and lowering slowly instead of dropping, make the exercise far more efficient. Once your form is right, the strength you already have goes a lot further.
That’s what this guide will walk you through, step by step.
The Reality Check: Why Pull-Ups Feel Impossible
If you’ve never done a pull-up, you are not alone. Not even close.
Estimates vary, but most surveys and fitness data put the number of adult men who can do a strict pull-up somewhere between 17% and 20%. For women, it’s often under 10%. That means for every ten women you know, one or fewer can likely do a single pull-up without help. This isn’t a small skill gap. It’s one of the hardest bodyweight moves there is.
Part of the problem is how your body is built to move. One study of 180 active, healthy adults found that men were roughly twice as strong at pushing exercises as they were at pulling ones. Women were nearly three times as strong at pushing than pulling. So if you can bang out push-ups but can’t budge on the bar, that’s not a personal failure. It’s a normal strength imbalance. Most daily movement, and most gym habits, train pushing far more than pulling.
There’s also a sneaky second problem. A lot of people assume they just need stronger arms and a stronger back. But often the real limit is your grip. You might be able to hang on the bar for 30 seconds just fine, yet still can’t complete a single rep. That’s a sign the bottleneck isn’t your grip at all. It’s your back and lat strength (lats are the big muscles that run down the sides of your back). Knowing which one is holding you back matters, because you train them differently.
So if pull-ups feel impossible right now, it’s not in your head. The numbers back you up.
Step-by-Step: Correct Pull-Up Form & Safety

Good pull-up form protects your shoulders and works your back the way it’s supposed to. Here is how to do it right, step by step.
1. Grab the bar and start your hang
Grip the bar with your hands facing away from you, about shoulder-width apart. Let your arms fully straighten. Don’t fully relax your shoulders here. A completely passive, floppy hang can put extra strain on the shoulder joint, especially if you already deal with shoulder impingement or loose, hypermobile shoulders. Instead, use an “active hang.” Keep a small amount of tension in your shoulders instead of letting them collapse up toward your ears. This protects the joint while still letting you build grip and back strength.
2. Set your shoulder blades first
This step matters more than most people realize for correct pull up form for back development. Before you bend your elbows, pull your shoulder blades down and back, like you’re trying to tuck them into your back pockets. This is called scapular retraction and depression. It “packs” your shoulders into a stable position and gets your lats ready to do the work, instead of your neck and traps taking over.
3. Pull with your elbows, not just your hands
Once your shoulder blades are set, bend your elbows and drive them down and back toward your hips. Think about pulling your elbows down, not just yanking your body up. This keeps the work in your back muscles.
4. Bring your chin over the bar
Keep pulling until your chin clears the bar. Pause there for a moment.
5. Lower yourself with control
Slowly straighten your arms back out until you return to a full hang. Don’t just drop. A slow, controlled descent is part of proper form, not an optional extra.
A safety warning about momentum
Never swing your legs or use body momentum to “kip” yourself up the bar. This might look like a shortcut, but for beginners who haven’t built full-body tension and control, kipping puts real strain on the shoulders. Treat kipping as a form mistake to avoid, not a beginner-friendly variation.
If you feel sharp pain in your shoulder at any point, stop. For more on shoulder safety during hanging exercises, The Conversation has a helpful explainer on hypermobility and impingement risks.
The Grip Width Myth & Chin-Up Differences
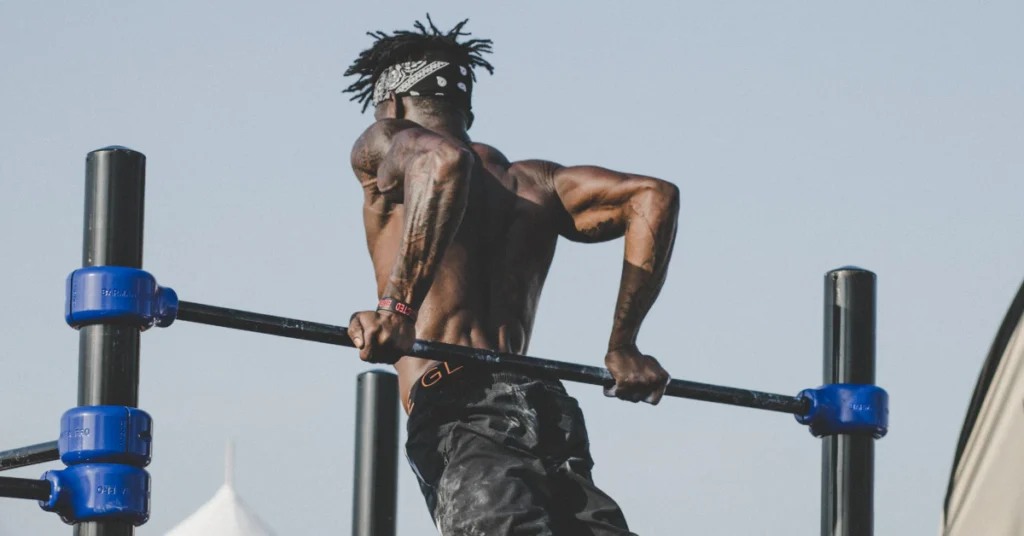
Not all bar grips are the same, and getting this mixed up trips a lot of beginners up.
A chin-up uses an underhand grip, with your palms facing you. It recruits more of your biceps, which is why it’s generally considered easier than a pull-up. A true pull-up uses an overhand grip, palms facing away, and leans more heavily on your back muscles. If you’ve been struggling with pull-ups, know that chin-ups aren’t cheating. They’re just a different, more beginner-friendly version of the same movement.
Now let’s clear up a common myth: going super wide on the bar doesn’t automatically build a wider back.
It’s easy to assume a wide grip must work your lats harder, but EMG research (studies that measure electrical activity in your muscles) doesn’t back that up. A moderate grip, about shoulder-width, activates your lats just as well as an ultra-wide grip in most studies. An extra-wide grip can even shorten your range of motion, which may reduce how much your back actually works.
A shoulder-width grip also gives your biceps more of a role in helping out, which studies show boosts overall muscle activation. In short, you don’t need to reach for the widest spot on the bar. A moderate grip is easier to control and works your back just as effectively.
The Progression Plan: Building Your First Rep
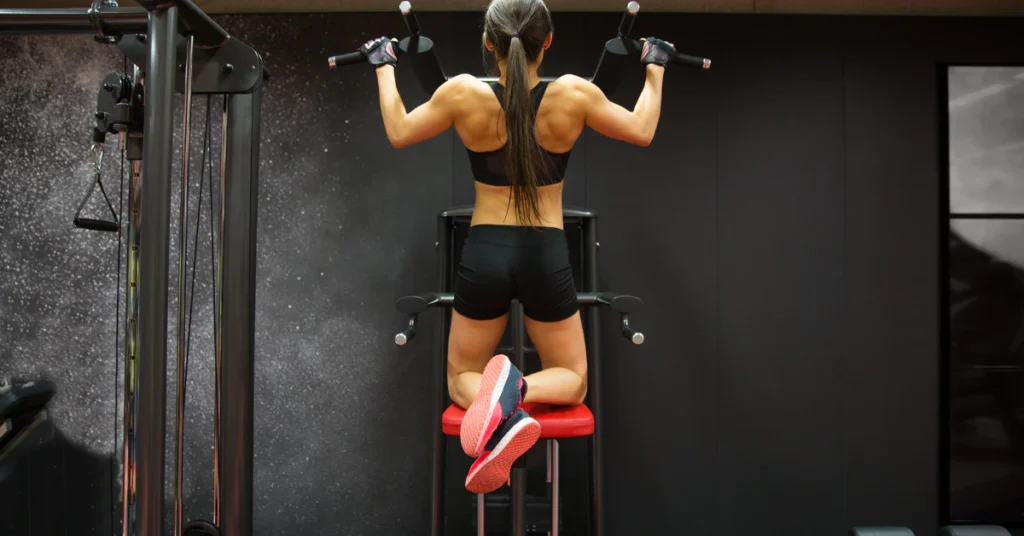
If you’re starting from zero, don’t try to force a full pull-up right away. Build up to it in stages instead. This is how to do pull ups for beginners the right way, without wasting weeks on the wrong exercise.
Step 1: Active hangs
Start by simply hanging from the bar with your shoulders engaged (not fully relaxed). Hold for as long as you can with good control. This builds your grip and starts training your shoulders to handle your bodyweight safely.
Step 2: Assisted pull-ups
Once hanging feels manageable, move on to assisted pull-ups. You can use a resistance band looped around the bar, with your foot or knee in the loop for support, or an assisted pull-up machine if your gym has one. These let you practice the full pulling motion with some of your bodyweight taken off, so you can focus on form.
Step 3: Negative (eccentric) pull-ups
This is the step that makes the biggest difference. A negative pull-up means you start at the top of the movement, chin over the bar, then lower yourself down as slowly as you can. You can get to the top position by using a box, a step, or jumping up.
This step matters because your muscles are stronger lowering a weight than lifting it. That means you can control a slow negative even before you have the strength to pull yourself all the way up. Training negative pull-ups 2 to 3 times a week is one of the most reliable ways to build the specific strength you need. People who stick to this routine consistently often reach their first full pull-up somewhere between 4 and 8 weeks.
A word on patience and rest
It’s tempting to test yourself on the bar every single day, especially when you’re excited to see progress. Don’t. Trying a max-effort pull-up attempt daily, without rest between sessions, is linked to overuse injuries like strain in the elbow or shoulder tendons. Your body needs recovery time between sessions to actually get stronger. Stick to training this progression 2 to 3 times a week, with rest days in between, and give the process time to work.
Progress on pull-ups is rarely a straight line. Some weeks will feel like nothing is changing, and then suddenly your negatives will feel more controlled, or you’ll hang on a few seconds longer than before. That’s real progress, even if it doesn’t feel like it yet.
The Timeline Truth: 30 Days or a Week?
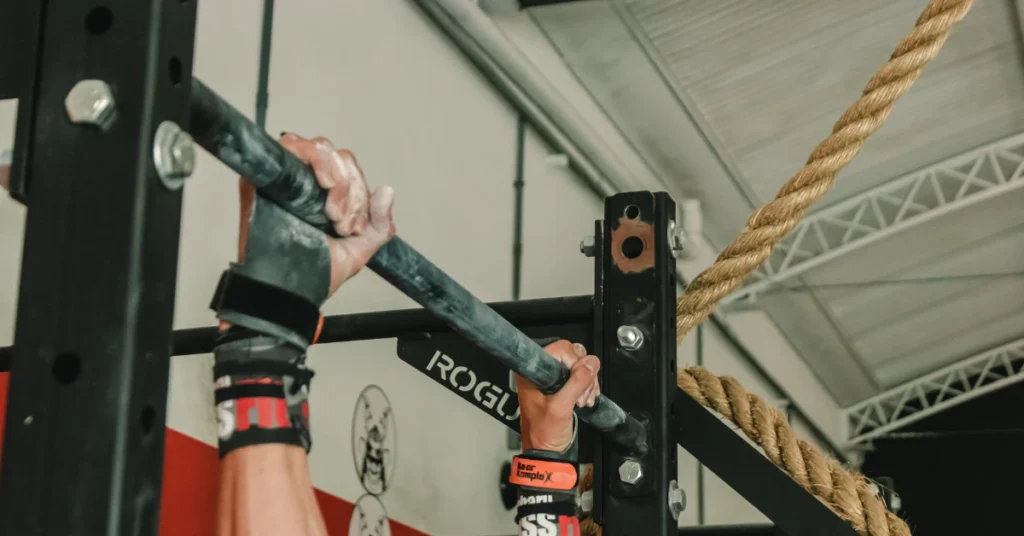
Let’s be honest about timelines, because a lot of guides online are not.
If you’re searching how to do a pull up in a week, here’s the truth. For most people starting from zero, that’s just not enough time. Building new muscle strength takes weeks, not days. The only exception is someone who already has strong pulling muscles from another activity, like rowing or climbing, and just needs to clean up their technique. For everyone else, real strength takes real time to build.
So what about 30 days? This is closer to realistic, but it’s still the best-case scenario, not a guarantee. Coaching data on negative pull-up training backs this up. People who train consistently, 2 to 3 times a week using the progression steps above, typically reach their first strict pull-up somewhere between 4 and 8 weeks. Thirty days sits right at the earliest edge of that range.
That means if you follow the plan and put in the work, hitting your first pull-up by day 30 is possible for some people. But if it takes you 6 weeks instead of 4, that doesn’t mean you’re doing anything wrong. It means you’re right on track with what the data actually shows.
The people who get discouraged and quit are usually the ones who expected a guaranteed timeline and didn’t get one. The people who succeed are the ones who show up 2 to 3 times a week and let the process take as long as it takes for their body.
Breaking the Stigma: Pull-Ups for Women
If you’re searching for how to do pull ups for beginners girl, you may have run into the idea that pull-ups are just harder for women, or worse, that women aren’t really built for them. That idea doesn’t hold up.
Consider this. The US Marine Corps used to let women skip pull-ups entirely and do a flexed arm hang instead. That changed in 2016, when the flexed arm hang was eliminated as the default option for women. Instead, women were given a real pull-up standard to meet, alongside men.
Look at the actual numbers. For women aged 21 to 25, the official standard is a minimum of 3 pull-ups just to pass, with 11 pull-ups needed for a perfect score. These aren’t arbitrary numbers picked to make a point. They’re used to test real, physically demanding jobs.
This matters because it shows pull-ups are a trainable skill for women, not some genetic wall. Yes, most women start with less upper body muscle than most men, on average. But “less to start with” is not the same as “impossible.” It just means the progression matters even more: active hangs, assisted reps, then negatives, done consistently.
If members of the Marine Corps can train their way to meeting these standards, you can train your way to your first rep too. The path is the same one laid out earlier in this guide. It just takes showing up for it.
Frequently Asked Questions
Can an average person do a pull-up?
It depends a lot on training background. Among untrained men, an average first attempt often lands somewhere between 4 and 8 reps, though many can’t complete even one yet. Among people who train regularly, the average looks different. In one large dataset of logged workouts, the average lifter could do 13 pull-ups for men and 6 for women. That gap shows just how much consistent training changes what’s possible.
Why can’t I do a pull-up?
The most common reason is a simple one: your pulling strength hasn’t caught up to your bodyweight yet. Most people naturally build more pushing strength than pulling strength through daily life and typical workouts, so pull-ups can lag behind other exercises. Poor shoulder blade engagement is another common cause. If you skip the step of pulling your shoulder blades down and back before bending your elbows, your back muscles don’t get set up to do their job properly.
What muscle is hardest to grow?
Across general strength training, calves are usually named as the hardest muscle group to grow overall. But there’s a more relevant answer for pull-ups specifically. Your lats (the big muscles on the sides of your back) are often called one of the hardest muscles to consciously feel and control while training. This is exactly why form cues matter so much here. Thinking “pull your elbows down” instead of just “pull yourself up” helps you actually engage your lats instead of leaning on your arms and shoulders alone.